Wikipedia Tricks
Three tricks to read more, navigate faster, and quickly view images.
 Wikipedia
can be a little clumsy to navigate. These three tricks will enable you to
read articles more efficiently by simplifying the interface, streamlining
image viewing, and enabling pop-up link previews.
Wikipedia
can be a little clumsy to navigate. These three tricks will enable you to
read articles more efficiently by simplifying the interface, streamlining
image viewing, and enabling pop-up link previews.
These tips are especially useful if you view Wikipedia images or find yourself bouncing among linked articles. The tips below streamline both of those processes, in addition to giving you more reading space.
Creating an account to store your preferences
To get started, you’ll need to create a Wikipedia account so you can save settings to your profile. It’s quick and it just lets you save preferences between visits to the site (among other benefits).
Pop-up link previews
Exploring any new topic on Wikipedia can be a chasing a dozen rabbits: every new and unfamiliar sub-topic gets its own tab, and so I’m often left with a dozen new tabs open to other Wikipedia pages. The cluttered tabs are not really necessary because often I just could have read the first paragraph to get an idea before continuing on with the original article.
Enter Hovercards. Hover the mouse over any link to another Wikipedia article and a small pop-up appears with the first few sentences. I’ve found this lets me move more quickly through articles. Enable Hovercards from the Beta Preferences page. This is the simplest of the tricks and only involves checking that box to enable the feature.

Simplify the interface
The default Wikipedia page layout has a sidebar that takes up a good chunk of the screen and that means less room for the important stuff: text and images.
WideSkin moves the left sidebar panel into the toolbar. WideSkin only works with the Vector theme (the default).
This trick will have you pasting a few lines of code into your preference files. Then you can brag to friends you coded JavaScript and CSS.
Wikipedia also lets you directly modify source files for both the global site (regardless of theme selected) and source files for the particular theme selected. These files are either JavaScript for code or CSS for color/font settings.
- global common.js and common.css
-
theme-specific vector.js and vector.css
Follow the instructions on the WideSkin page to make two modifications to your user theme files: adding an import statement to your custom vector.js, and adding a few new CSS tags to your custom vector.css file.
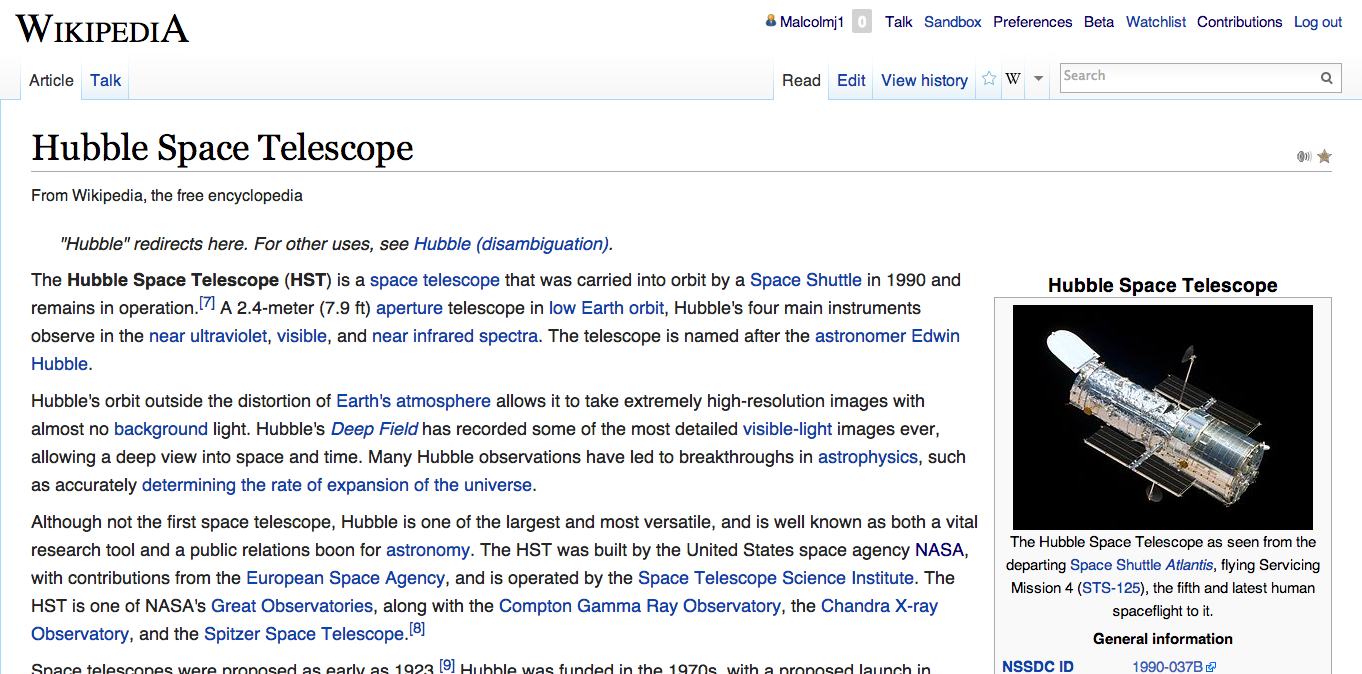
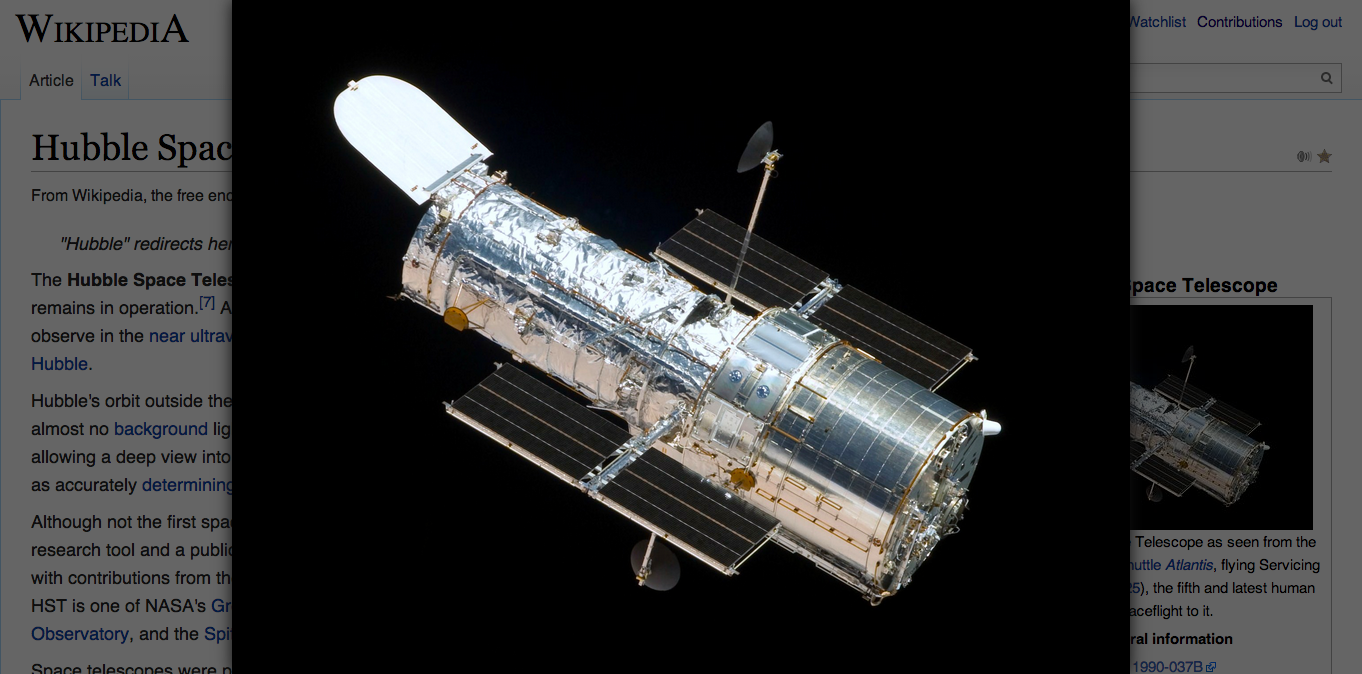
Streamline image viewing
With the default Wikipedia, images always require two hops: clicking on the image brings up the File page where you click again to see the full resolution image. Then you have to click the Back button to return to your page.
Skip all of that by setting up LightBox so a single click brings up the image full resolution, and clicking or hitting any key will close it.
Wikipedia also has its own built-in alternative MediaViewer but I’ve found it to be clunky.
Any other tips and tricks you find useful?
More tips and tricks
Keyboard shortcuts, Wikipedia customizations, syntax highlighting while editing